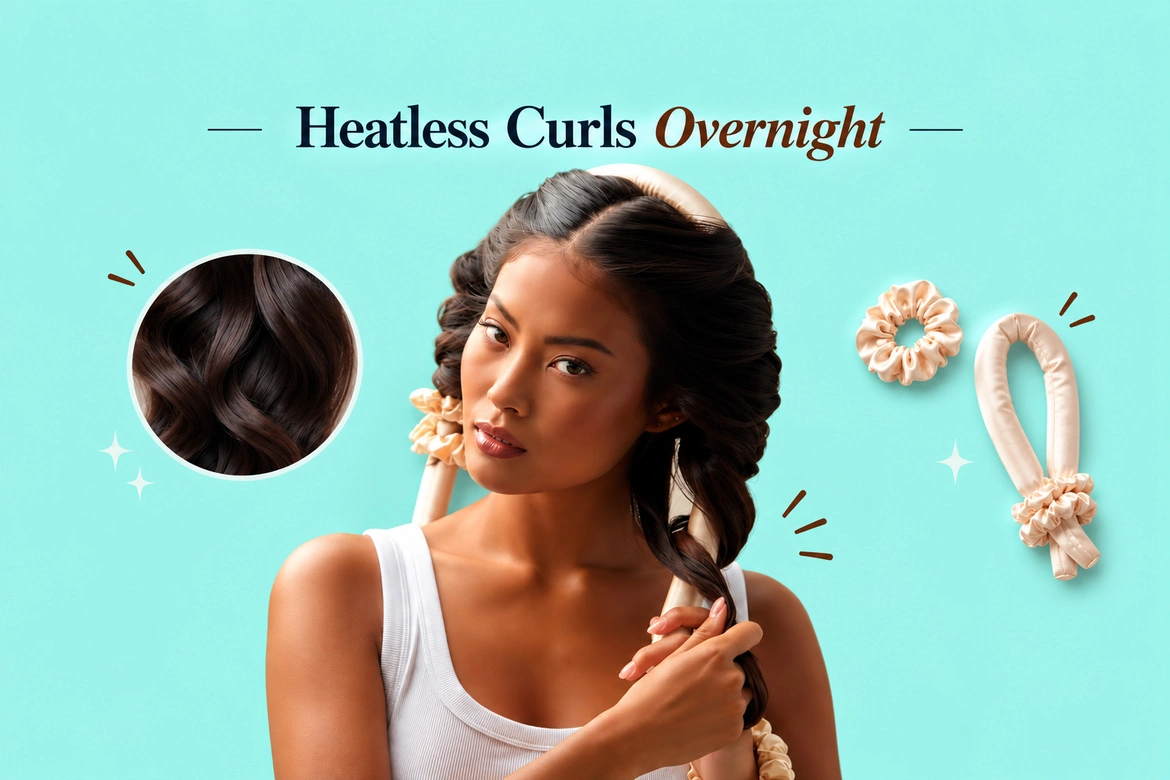
There is a certain sort of magic in going to bed with limp, flat hair and waking up with soft, bouncy waves you didn’t have to fight for. No burned fingertips. No smell of singed strands. No 6 a.m. panic with a curling wand. Heatless curls overnight give you the blowout without the blow dryer, and once you learn the rhythm of it, you’ll wonder why you ever plugged anything in.
I’ve tried every method a bathroom drawer can hold: robe ties, tube socks, satin rods, headbands, and humble pin curls. Some gave me the loose, lived-in bend I wanted. Some left me looking like I’d been electrocuted. This guide is the one I wished someone had handed me years ago, written for real hair and real productive mornings.
Let’s get into it.
Why Heatless Curls Beat the Hot Tools
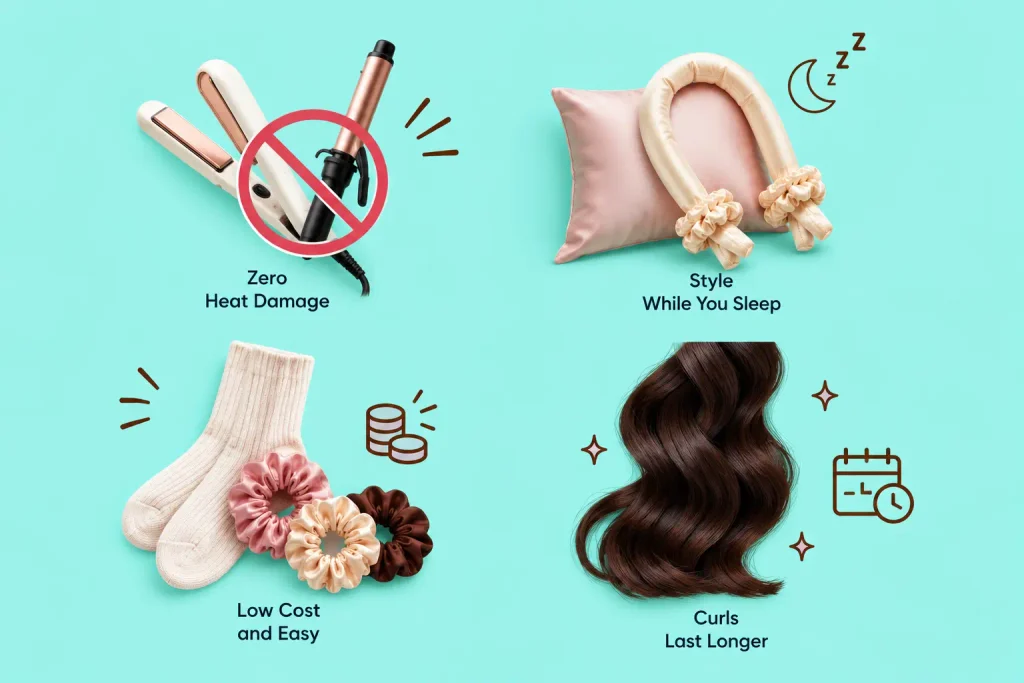
When your hair takes shape as it gets dryer, you have a shape when it goes into this shape. That’s what is the secret. Wrap damp strands around an object round, let them hang out for a few hours, and you have the curl lock in when the water leaves. There’s no need for 400-degree plates.
Heat styling is done by force. It breaks the hydrogen bonds in your hair with temperature, reshapes them, and then cools them down. A couple times a week you cook the cuticle flat, and it reads as frizz, split ends, and that dry, straw-like feel near the tips. Heatless curls save you from the damage entirely, because they never break the hydrogen bonds with heat. Your hair reshapes itself as it air-dries gently on its own time.
The payoff is fast:
- Zero heat damage. Your ends stay smooth, and your color lasts longer.
- You sleep through the styling. The work happens while you’re unconscious.
- It costs almost nothing. A sock and a scrunchie will do.
- The curls last longer. Air-set curls tend to hold better than a rushed iron job.
Hairstylists have watched this trend rise for a reason. When a technique protects the hair and saves you 30 minutes, it stops being a fad and becomes a habit.
Before You Start: Getting Your Hair Ready
Prep decides everything. I’ve seen people blame the method when the real culprit was skipping this step.
Start with hair that’s around 80 percent dry. Soaking wet hair is very easy to set and often remains wet under the wrap, and you wake up to a droopy, half-formed wave. Bone-dry hair won’t take the shape at all. Aim for that in-between zone: towel-dried, then air-dried until it’s cool to the touch. If you’re short on time, a quick mist of water on dry hair gets you there.
Detangle first. Draw a wide-tooth comb through so the strands are woven in and out. Knots create kinks, and kinks ruin the shape.
Add a little grip. A light leave-in, a curl cream, or a few drops of texturizing spray gives your hair some firm hold on. Fine hair needs this most of all. If you don’t have product, the curl slides right out by lunch. Heavy product weighs the wave down and leaves it stringy.
When your hair is prepped, you can choose your method. Then the fun begins.
How to Do Heatless Curls: The Methods That Deliver
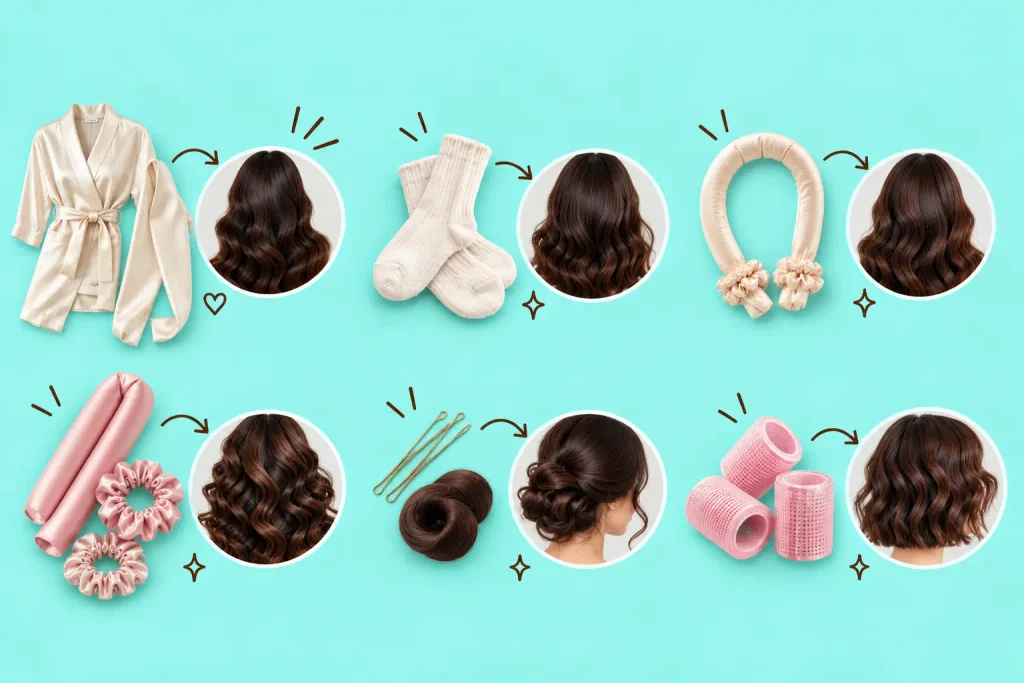
Every technique below shapes the curl a little differently. Loose beachy waves come from thicker wraps. Tight ringlets come from thinner sections and smaller tools. Read through, then match the method to the look you’re after.
1. The Robe Tie Method (For Soft, Romantic Waves)
This one went viral for good reason. Grab the tie from a bathrobe, or use a soft scarf or a length of fabric. It stays comfortably on your head all night, which matters when you’re a side sleeper.
How to do it:
- Part your hair down the middle and drape the robe tie over your head like a headband, with the two long ends hanging in front.
- Take a section of hair from one side and wrap it around the tie, pulling in new hair as you move down, the way you would do a French braid but wrapping instead of crossing.
- Keep wrapping to the ends, then secure with a small scrunchie or hair tie.
- Repeat on the other side.
- Sleep on it, unwrap in the morning, and separate the curls with your fingers.
The result reads like a loose, glamorous wave, the kind that sounds like you spent an hour with a wand. This is my go-to for weddings and dinners.
2. The Sock Method (Free and Foolproof)
No robe tie? Your sock drawer has you covered. The sock method uses one or two long tube socks the same way you’d use a robe tie, and it’s the technique most people try first because the tools are already in the house.
How to do it:
- Section your hair again, but this time anchor a clean tube sock on top of your head with a claw clip.
- Wrap each section around the sock, going all the way down to the ends.
- Secure with a soft hair tie.
- Leave overnight and shake out.
Thicker socks give you looser bends. Thinner socks give you tighter curls. Cotton or a soft jersey blend grips best. Don’t use bulky wool ones; they crush against the pillow and flatten your set.
3. The Heatless Curls Headband (Fast and Beginner-Friendly)
If wrapping is hard to do, the heatless curls headband is the answer. These padded tube-shaped headbands are designed for this job, and it’s the easiest way to get started with the whole idea.
Slip the headband on so it sits like a crown. Lay two-inch sections of hair up and around it, tucking each one as you go and secure the ends. Your curls come out even and uniform as long as the headband holds its shape, and there is almost no skill required. A heatless curls headband is also less prone to getting loose than a loose scarf, so restless sleepers can wake up with the set intact. For anyone who has never done heatless curls before, this is the gentlest place to start.
4. The Satin Curling Ribbon or Rod (The Salon-Quality Option)
The silk or satin curling rod kit has become the standard for a defined, polished result. The smooth material cuts friction, which means less frizz and a cleaner curl shape. If you want your heatless waves to look styled rather than casually tousled, this is the upgrade worth making.
The method mirrors the robe tie: center the rod on your head, split your hair in two, and wrap small sections around each side. Because the rod is firmer than fabric, the curls come out with more bounce and hold. Satin also protects your hair overnight the way a silk pillowcase does, so you get smoother strands as a bonus.
5. Pin Curls and Braids (For Texture Without Tools)
Sometimes the simplest approach wins. Twist small sections of damp hair into little coils, pin each one flat against your scalp with bobby pins, and sleep on them. Pin curls give you tight, vintage-style ringlets that read as retro and full of movement.
For a softer effect, braid your damp hair instead. One loose braid gives you gentle, heatless waves. Several thin braids give you a crimped, beachy texture. This is the lowest-effort method on the list and a solid choice for anyone who finds wraps annoying.
6. Heatless Curls for Short Hair
People with bobs and lobs are told this won’t work for them. Not true. Heatless curl and short hair techniques exist, and they deliver.
The trick is scaling down. Shorter strands need smaller tools and thinner sections. Skip the full robe tie and get a slim headband, small flexi rods, or pin curls that grip short lengths far better than a long wrap ever could. Foam rollers are great for this too, as they hold even the shortest sections in place. If you work with heatless curls for short hair, reduce your sections and leave your hair a bit damper than usual because short hair loses moisture faster and can dry before the curl sets. A bob with a soft bend looks expensive, and you can get there overnight.
The Products Worth Keeping On Your Nightstand
You can get a beautiful set with nothing but a sock, but a few small purchases make the routine smoother and the results more consistent. None of these cost much, and each one earns its spot.
A satin curling ribbon kit. The single upgrade most people notice right away. The smooth surface combats frizz, and the firm shape gives you a bouncier, more defined result than fabric alone. If you style your hair for work or events, this is the one to buy.
A silk or satin pillowcase. It protects your set overnight, reduces friction, and keeps your ends smooth. It also helps your skin, which is a nice bonus for a $15 purchase.
A good leave-in or curl cream. Grip is everything, and the right leave-in gives fine hair the hold it needs without turning greasy. Look for a lightweight formula that doesn’t weigh strands down.
A flexible-hold hairspray. Skip stiff, crunchy formulas. A soft, flexible spray sets the shape while keeping the curl touchable and natural.
A rat-tail comb and soft scrunchies. The comb gives you clean sections, and satin scrunchies secure your ends without leaving creases or snapping strands.
Start with the ribbon kit and the pillowcase if you’re buying anything at all. Those two have more impact than the rest combined, and they last for years.
How Long to Leave Heatless Curls In
Timing separates a soft, all-day curl from a wave that falls flat by noon.
For heatless curls overnight, six to eight hours of sleep is sufficient. That’s the beauty of the method. You set it before bed, and the clock works for you. If you’re doing them during the day, give the curls at least four to five hours, and make sure your hair is fully dry before you unwrap it. Unwrapping damp hair is the number one reason curls collapse. The shape hasn’t finished setting, so it slips right out.
Fine or thin hair sets faster. Thick or coarse hair needs the full overnight window, and sometimes a little longer. If your hair still feels cool or damp when you unwrap it, it needs more time.
How to Make Heatless Curls Last All Day
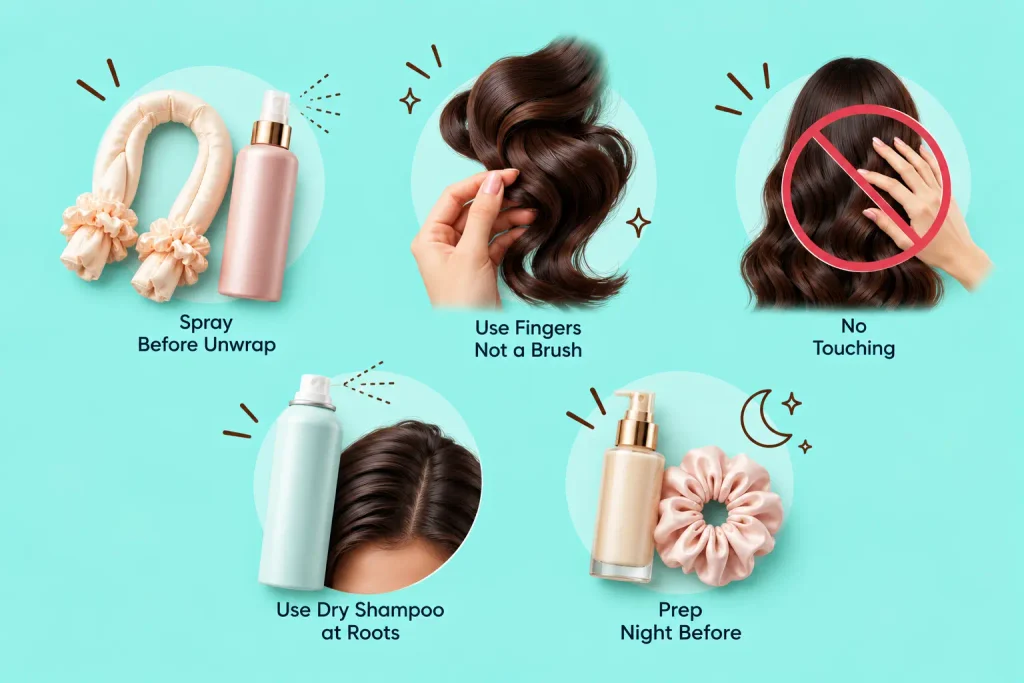
You did the work overnight. Now protect it.
- Before you unwrap it. A light mist of flexible-hold hairspray on the wrapped hair, then after you release the curls, lock the shape in.
- Separate with your fingers, not a brush. A brush drags the curls out into frizz. Fingers help to keep the definition and softness.
- No touching. When you run your hands through your hair every time you press it, you loosen the pattern. Style it once and leave it be.
- Use dry shampoo at the roots. It strengthens the grip and lift to help the curls stay on their bounce and keep them going into the evening.
- Prep the night before is important. Clean hair with a little product will hold a curl longer than hair that has been washed and is product-free, which is often too slippery to grip.
There is one more thing you should know: a spritz of texturizing spray the next morning can rejuvenate a curl that is starting to droop. You don’t have to start over.
Which Method Gives You Which Curl?
Here is a quick reference to match the technique to the look.
| Method | Curl Type | Best For | Effort Level |
| Robe Tie | Soft, romantic waves | Long hair, special occasions | Medium |
| Sock Method | Loose to medium curls | Anyone, budget-friendly | Low |
| Headband | Even uniform curls | Beginners | Low |
| Satin Rod | Defined, bouncy curls | Polished, styled looks | Medium |
| Pin Curls | Tight vintage ringlets | Short to medium hair | Medium |
| Braids | Beachy crimped texture | Effortless everyday | Very low |
| Foam Rollers | Full, voluminous curls | Short hair, volume seekers | Medium |
Print it, screenshot it, and pin it above your mirror. It won’t take too much time and error.
The Mistakes That Ruin Heatless Curls
I made most of these before I got the hang of it, so learn from my flat-hair mornings.
Hair too wet. The set won’t finish, and you’re going to wake up and have droopy waves. Aim for 80 percent dry.
Sections too big. Fat sections give you a weak, barely-there bend. Smaller sections hold better and last longer.
Skipping product. Bare hair has nothing to grip. A little leave-in or curl cream changes the whole result, especially on fine hair.
Unwrapping too soon. This takes time. Early release of damp hair in the morning loses the curl in an hour.
Brushing it out. The fastest way to turn beautiful curls into a frizzy cloud. Fingers only.
Fix these five and your waves will look intentional every single time.
Is This Method Right for Your Hair Type?
Almost everyone can accomplish these, but it is the method.
Fine or thin hair: You will get gorgeous soft waves, but you need product for grip, and you should unwrap gently. Smaller sections help the curl hold.
Thick or coarse hair: Heatless curls, short hair, or long hair, your hair holds a curl beautifully. Give it the full overnight set, since thick hair takes longer to dry into shape.
Wavy or curly hair: You’re already halfway there. Heatless techniques enhance your natural pattern and give it uniform definition without a single degree of heat.
Color-treated or damaged hair: This is where heatless curls shine brightest. Your fragile strands are freed from the tools that stressed them in the first place, and the color remains longer without heat fading it.
Whatever your texture, there is a version of this that fits. That’s what keeps people coming back to it.
A Small Ritual Worth Keeping
So it is the routine itself that makes it nice. Just ten minutes before bed, your hands in your hair, no rush, no noise. You wake up to something wonderful that you don’t have to earn all over again in the morning. Your hair is healthier week by week and not fried more and more. And you get those thirty minutes back each day.
Heatless curls overnight aren’t a compromise you settle for because you’re avoiding damage. But once you find your method, they become the kind of curls you want. Softer. Longer-lasting. Kindly touch your hair. Yours.
Consider trying one method this week. Give it a couple of tries to find your rhythm, adjust your sections and your dampness, and watch your mornings get easier.
The Bottom Line
Heatless curls overnight show you don’t need heat to wake up with waves you love. Pick the method that suits your hair, nail the prep, give the curls time to set, and protect them once they’re out. Your strands stay healthy, your color lasts, and your mornings get a whole lot calmer. The best hair day of your week might be the one you slept through.
Frequently Asked Questions (FAQs)
Q. How do you do heatless curls at home?
Ans. Start with hair that is about 80 percent dry, detangle it, and add a light leave-in or curl cream for grip. Wrap sections of hair around a robe tie, a clean sock, a headband, or a satin rod. Secure the ends, sleep on it overnight, then unwrap and separate the curls with your fingers. Use a touch of hairspray to keep them fresh and last.
Q. How long do heatless curls take?
Ans. If you’re doing heatless curls overnight, six to eight hours while you sleep is ideal. If you’re setting them during the day, give them at least four to five hours and make sure that your hair is completely dry before you unwrap them. Thicker hair needs the longer end of that window.
Q. How do you keep heatless curls strong?
Ans. Use clean hair and a grip-friendly product, reduce the size of sections, and let the curls set fully before unwrapping. Separate with your fingers instead of a brush, mist with flexible-hold hairspray, and add dry shampoo at the roots for extra hold. Avoid running your hands through your hair once it’s styled.
Q. Can you do heatless curls with wet hair?
Ans. Damp works much better than soaking wet. Fully wet hair often stays moist under the wrap overnight and won’t set, leaving you with limp waves. Towel-dry and let your hair air-dry to around 80 percent before you wrap it for the best result.
Q. Do heatless curls work on short hair?
Ans. Yes. Heatless curls for short hair techniques use smaller tools and thinner sections. A slim headband, small flexi rods, foam rollers, or pin curls can grip short lengths better than a long wrap. Keep sections tiny and your hair slightly damper, since short hair dries faster.